Estimated reading time: 7 minutes
If you want to equip your Kia ProCeed with a dashcam that also ensures safety in parking mode, you've come to the right place! A dashcam is a practical gadget that can help you in many situations. It not only offers protection in the event of an accident, but also documents incidents while stationary, such as parking bumps or vandalism. With these step-by-step instructions, you can install it yourself and save money. Let's go!
I personally have a VANTRUE N4 PRO* with Starvis 2 sensor including the VANTRUE USB-C Hardwire Kit* is installed. I have a matching circular polarization filter* against reflections. I deliberately opted for the device because the YouTuber "The Hook Up" made an ultimate comparison of all dashcams with video footage. You can see this perfectly here in his YouTube video:
Why a dashcam makes sense
A dashcam is not just a technical toy, but a real safety benefit. Here are some of the most important advantages:
- Preservation of evidence: After an accident, you have clear recordings that can prove your innocence.
- Parking monitoring: In parking mode, the camera registers movements or bumps and documents if someone damages your vehicle.
- Vandalism protection: The camera can act as a deterrent and help to identify vandals.
- Travel shots: Capture breathtaking roads and landscapes while you're on the road.
These advantages not only increase your security, but can also provide clarity more quickly in the event of a dispute.
What you need for installation
Before you start, you should have all the necessary materials ready:
- Dashcam with parking monitoring function
- Hardwire kit for the power supply (incl. fuse adapter and cable)
- ToolSocket wrench, screwdriver, plastic wedges for removing panels
- Multimeter for fuse control (for 12V continuous current & ACC)
- Cable ties and insulating tape (optional)
- Operating instructions your dashcam


Step 1: Find the optimum position for the dashcam
It is best to place the dashcam behind the rear-view mirror on the passenger side. This way, your view remains unobstructed and the camera has a good viewing angle of the road. Use the holder supplied or an adhesive pad to attach the dashcam.
Tip: Make sure that the lens is free of obstacles and that the windshield wiper area is covered.
Step 2: Prepare cable routing
Start with the power supply. Run the cable along the top edge of the windshield. Hide it behind the trim to get a clean look. Use plastic wedges to carefully pull the trim forward and clamp the cable in between.
Route the cable further to the fuse box, which is located in the footwell on the driver's side. Refer to the owner's manual of your Kia ProCeed to find the exact location.
You can route the cable along your A-pillar and pull the plastic trim forward with the plastic wedges. When you reach the door, you can loosen the door seal and push the cable into the gap.
Now a little more force is required. The outer left-hand side of the dashboard is clipped. It is best to first remove the fuse cover above the lever for the hood. You will then see the fuses and can push the cover outwards from the inside. It is clipped in three places and is very tight. Once you have removed it, you can guide the cables through the gap.
Rear camera
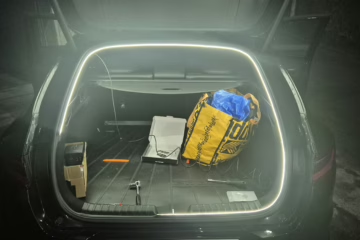
If you also want to install a dashcam for the rear window, you should lay the cable along the roof lining. Start at the windshield and work your way up to the trunk. Carefully loosen the roof lining in the area of the trunk lid. Then route the cable through the rubber seal, which already contains the original vehicle cables, and continue through the trunk lining. At the end, the cable should come out at the upper edge of the rear window, where you mount the second camera.
Step 3: Connect the hardware kit
Now connect the hardware kit. Identify the correct fuse for "ignition" (ACC) and "continuous current" (B+) using the multimeter and your car's operating instructions. Use the fuse adapters to safely connect the hardware kit. You must find a fuse that supplies 12V even when the car is switched off. Choose a fuse that is not safety-relevant, such as the socket for the cigarette lighter or the seat heater. In this case, you are protected even if the fuse should fail. In the case of the Kia ProCeed, I used the unused "SPARE" (sixth column, fourth row).

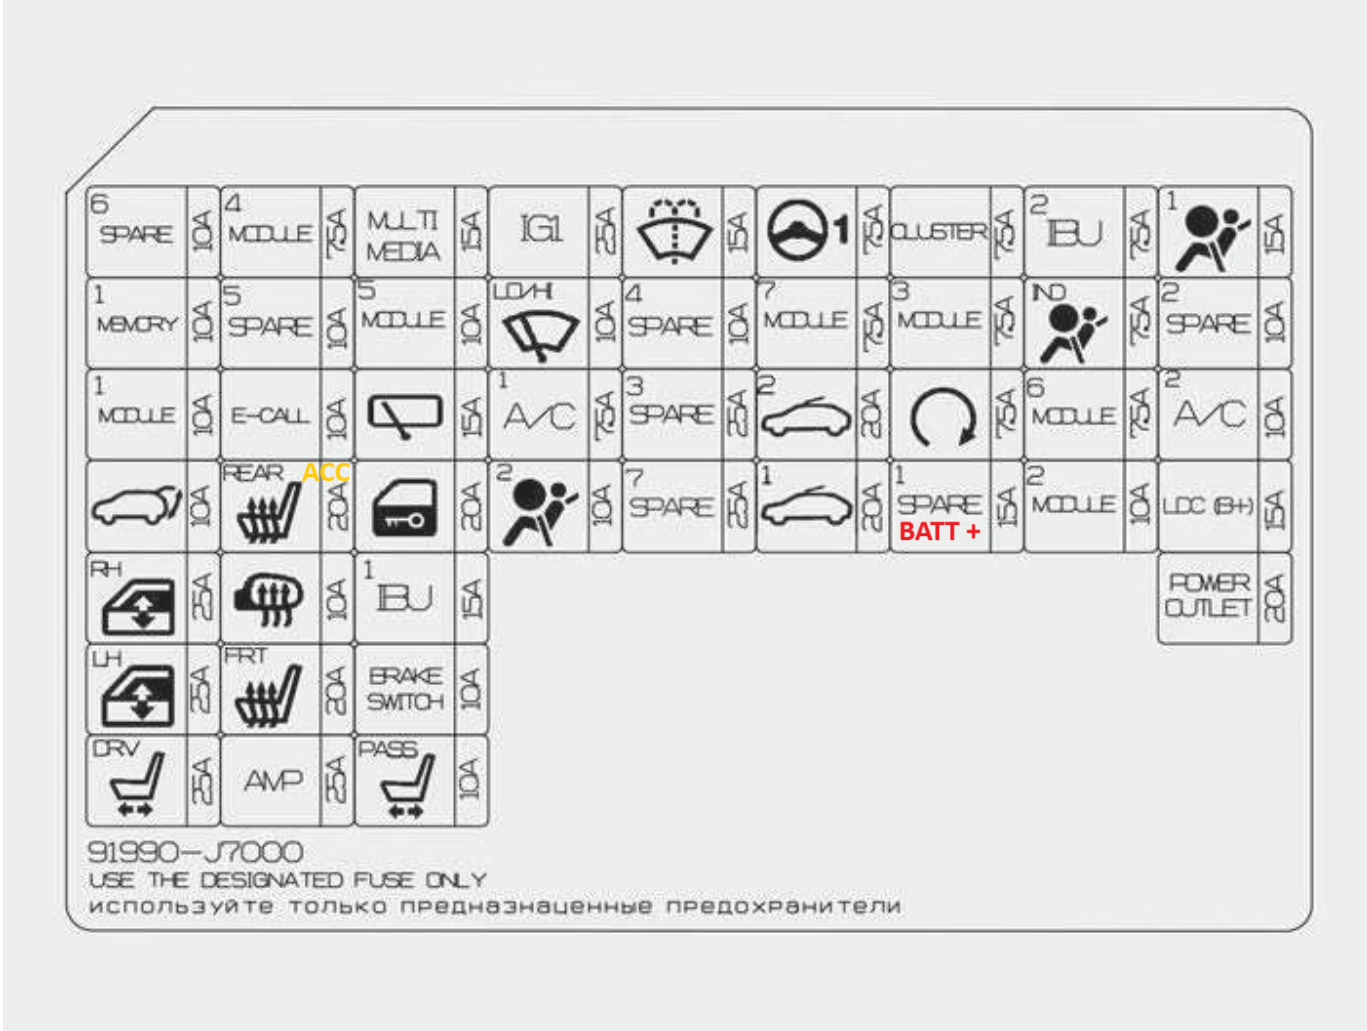
The same applies to the ACC fuse. The only difference is that you need to find a fuse that does not supply any current when the vehicle is switched off, but supplies 12V when the ACC or ignition is switched on. In the case of the Kia ProCeed, I used the fuse for the rear seat heating (second column, fourth row).
Finally, you must screw the black cable for ground (GND) with a metal screw in the vehicle frame (usually under a hexagonal screw). There is one behind the left outer side of the dashboard. Loosen it a little, insert the connector underneath and screw the screw back on.
To continue, you must first open the hood and remove the relay puller from the second fuse box next to the battery (on the Kia it is on the front left and white).
Now pull out the fuse for ACC. Insert the fuse adapter with the original fuse. Repeat the exact same procedure for "continuous current" (B+)
Step 4: Perform function test
Switch on the ignition and check that the dashcam starts. Activate parking mode to ensure that it is working correctly. Make sure that the camera receives power both when the ignition is switched on and when the car is stationary.
Problem solution:
- The dashcam does not start? Check the connections.
- No parking mode? Check whether the permanent power cable is connected correctly.
Step 5: Secure the cable and fit the cladding
If everything works, secure the cables with cable ties. Tidy away any excess cables. Press the covers back into position and make sure that no cables are trapped.
YouTube video implementation
Conclusion
You've made it! With your new dashcam including parking monitoring, you can now enjoy greater safety, both when driving and when stationary. Installation may seem complicated at first, but with the right preparation and patience, it is absolutely doable.
Have fun with your new dashcam and enjoy your journey!
* Affiliate links are marked with an asterisk.
0 Comments